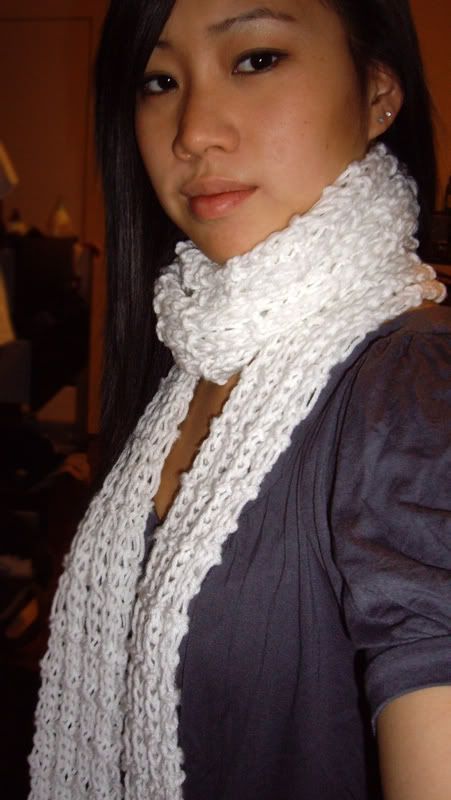
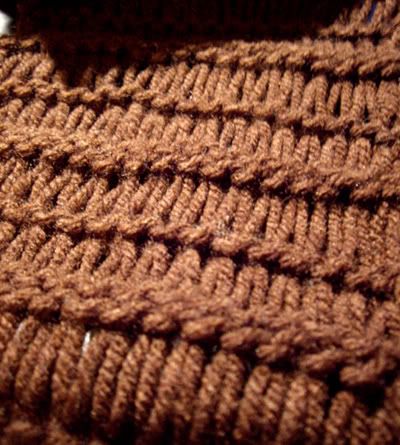
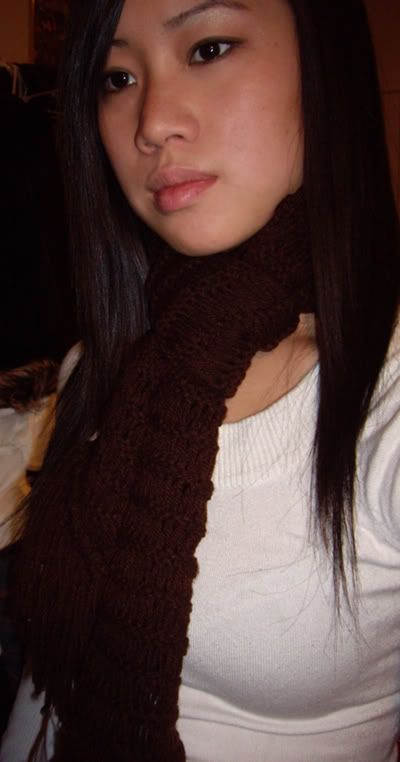
Monday, January 19, 2009

Knitting Withdrawal

Ah! When I came back to Philly 2 weeks ago, I didn't bring any of my knitting stuff with me because I knew I would be knitting all the time instead of studying/doing my work.

But how I regret not bringing my knitting stuff! With no studying to do and the internet being soo slow... I'm about to go out and buy some knitting needles tomorrow.


Friday, January 16, 2009

So Slouchy Hat Pattern


About this hat:
I followed this pattern by newknits but sliightly changed a few things around.

Materials I used:
- US size 10 circular 16'' needles
- US size 10 DPN
- Lion Brand Yarn: Vanna's Choice (color: linen)
label recommended a size 9 needle*
*using a larger needle than suggested by the yarn manufacturer will make it more loose--perfect for the slouchy look

So Slouchy Hat Pattern:
Cast on 66 stitches on circular needles and join in the round.
(if you want your 2x2 rib pattern to match up exactly - cast on 68 stitches) I don't mind using 66 and having my rib not match up. (basically I started with 2 knit stitches and end with 2 knit stitches so when joined together, it will give 4 knit stitches. but I just wear that part in the back and you can't see it at all)

row 1: *K2, P2* (2 X 2 rib)
repeat row 1 for a total of 4 rows
-- remember to use a stitch marker to mark the start of a round--

row 2: *K6, M1*
row 3: *K9, M1*
row 4: *K1, P1*
row 5: *Purl*
repeat rows 4 and 5 until measures a little over 6" from CO. (or however "slouchy" you want the hat) now it's time to decrease the crown

Decreasing the crown (at some point while you keep decreasing the circular needle will be hard to use. that's when it's time to switch to double pointed needles)
row 1: *P9, P2G*
row 2: Purl all stitches
row 3: *P6, P2G*
row 4: Purl all stitches
row 5: *P5, P2G*
row 6: *P4, P2G*
row 7: *P3, P2G*
row 8: *P2, P2g*
row 9: *P1, P2G*
row 10: *P2G*
row 11: *P2G*
row 12: cut yarn ~5 inches from the last stitch, thread yarn through remaining stitches, pull to close the hole and weave in remaining yarn.

Abbreviations used in this pattern:
K1 = knit one stitch
P1 = purl one stitch
P2G = purl 2 together
M1 = make one stitch (increase) // learn about increasing here (I used M1R)

Tuesday, January 13, 2009

Loose-Knit Scarf Pattern


About the scarf:
This scarf is very simple and does not take too long to complete. It seems to have "holes" in it, but that's what makes it comfortable and unique. It's meant to be wrapped around more than once, so it's still very warm!

Materials I used:
-US size 13 needles
- yarn where manufacturer recommends using US size 9 needle

My Loose-Knit Scarf Pattern:
Cast on 16 stitches
row 1: purl
row 2: *K2, P2*
row 3: *K2, P2*
row 4: purl
Repeat rows 1-4 until desired length; end after row 3
Bind off and attach tassels.

Good luck!

Sunday, January 11, 2009

Double Trouble Chunky Cable Scarf Pattern


About the scarf:
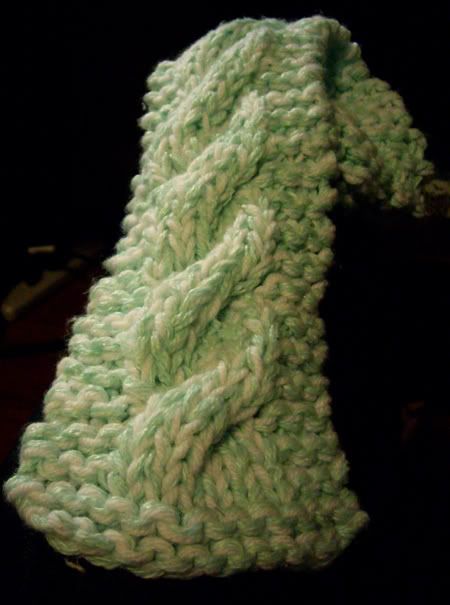
I made this scarf while kind of just messing around with different yarns and practicing how to cable (this was my first cabled project). What I did was used 2 yarns at once (to make it look bulkier). If you look closely, you can see the 2 different yarns.
The teal color yarn is actually yarn from an unwanted sweater that my mom took apart. And the white yarn is worsted weight yarn.
This pattern can be worked using bulky yarn or you can try using 2 different yarns at once. Mix and match and see what works for you.

Materials I used:
- US size 13 straight needles
- teal & white yarn
- cable needle

Double Trouble Chunky Cable Scarf Pattern:
Using size 13 needles, cast on 12 stitches.
row 1: *knit*
row 2: *K3, P6, K3*
row 3: *knit*
row 4: *K3, P6, K3*
row 5: *knit*
row 6: *K3, P6, K3*
row 7: K3, slip 3 stitches on cable needle and hold to back of work, K3, then K3 from the cable needle, then K3 to end the row
row 8: K3, P6, K3
**repeat rows 1-8 until desired length**

You can do a few rows of garter stitch at the ends of the scarf (right after casting on and right before binding off) to give the scarf a different look:


Abbreviations in this pattern:
** = repeat everything between the ** for the entire row
K = knit
P = purl

My Simple Scarf Pattern


About the scarf:

This scarf was my second knitting project ever. I had only bought 1 pair of size 7 needles and a pound of yarn for cheap. So with that I started experimenting with what different things I can do with just 1 pair of needles.
I made it years ago and I don't remember the exact pattern, but I think this is what I did:


My Simple Scarf pattern:
- use size 7 needles -
Cast on 34 stitches (or however skinny/wide you would like your scarf)
row 1: *KW* (There will appear to be twice the number of stitches on the needle across this row)
row 2: *K1, and drop the next stitch from the left needle as you do so*
row 3 & 4: *K1* to end of row

Repeat rows 1-4 until desired length.
Bind off and attach tassels.
there are many ways to attach tassels. I learned by just trying out different things and seeing what worked for me. If you're really lost, try searching for video clips on youtube.com or this site may help.

Abbreviations for this pattern:
K1 = knit one stitch
KW = wrap yarn twice around needle (as done when doing a yarn over) and pull the double loop through as you knit the stitch.


ENJOY and let me know if you have any questions.
If you tried this pattern, please come back and let me know how it turned out!

Saturday, January 10, 2009

About My Blog

I'm a full time pharmacy student with 2 part-time jobs, so I don't know how often I'll actually be blogging. But, I decided to start this blog to share some of my knitting work with... whoever stumbles upon this blog. I always enjoyed looking at others' creative work and loved when people shared their patterns & tips.

So I'm going to give this a shot and hopefully my blog will help someone out there!

I started knitting in Winter '06. Through youtube and other miscellaneous sites, I learned the basics. After winter break ended, I tucked knitting away and did not revisit it until this winter. I got a bunionectomy and couldn't do much because of my crutches so all I did was knit nonstop. I love learning new stitches and working on new projects :). That's it about me, on to knitting...

To start off, here are some of my favorite knitting help links:
  • knitting glossary - this is a very helpful glossary that even includes videos you can view! If you're just starting to knit and are confused with abbreviations, this is very very useful.
  • free pattern directory - this is a site full of a collection of different patters from scarves to hats and other sorts of great knits!
  • knitting stitches - shows many different types of stitches/patterns. very helpful when you want to make your own pattern.

I'm still a novice knitter, but hopefully I'll have time to learn more! Feel free to leave tips :) and follow along on my knitting journey.